Plan a crawl through early
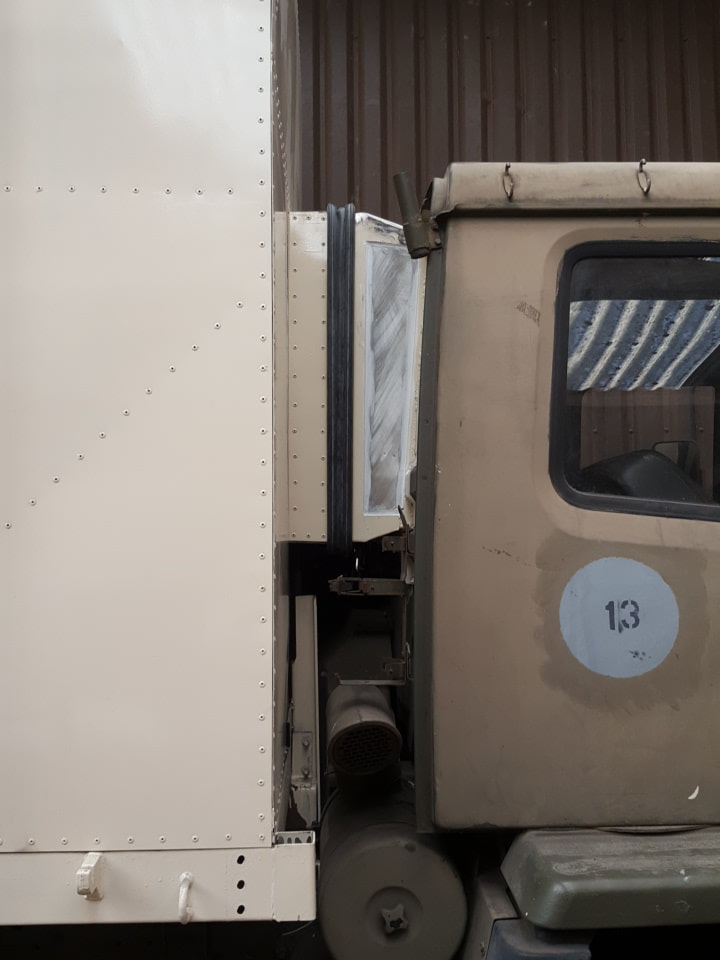
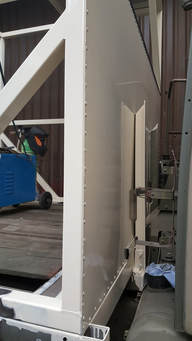
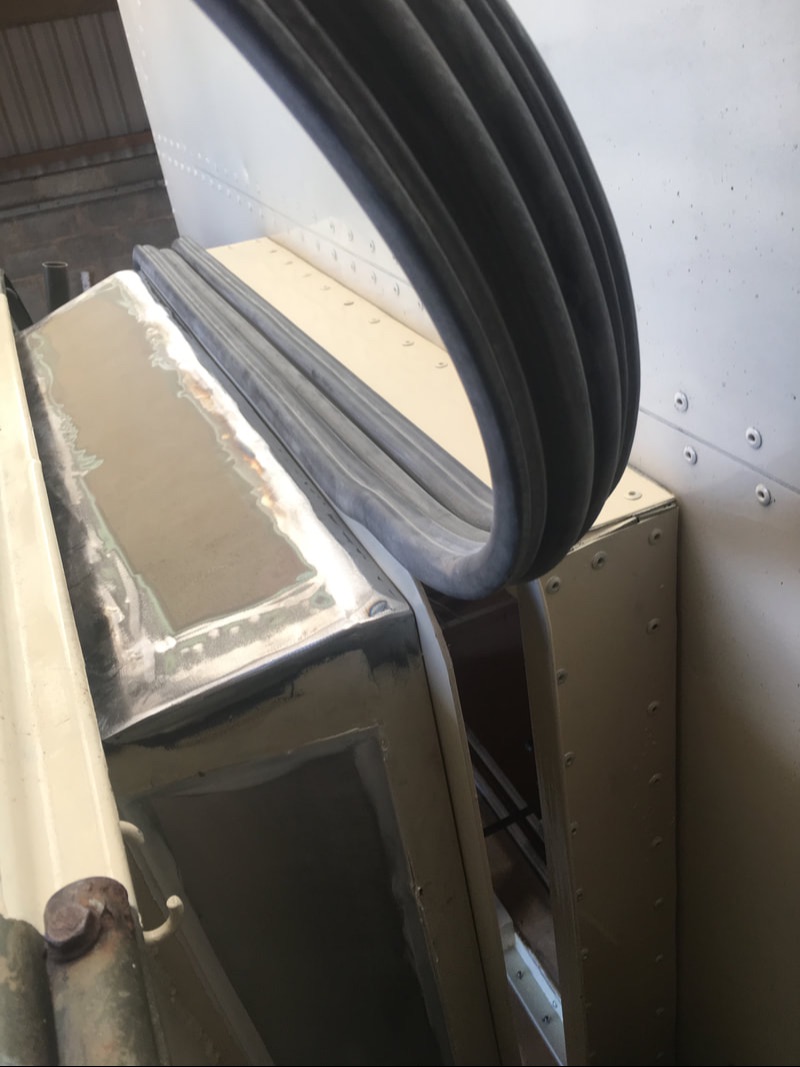
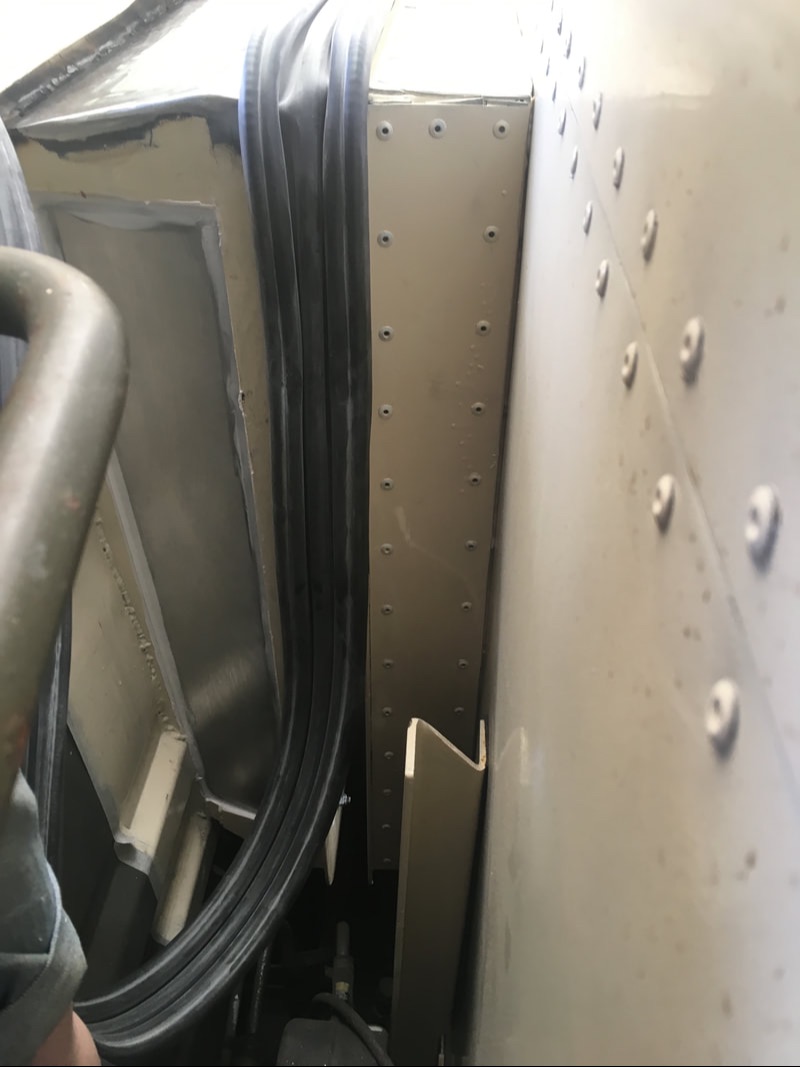
More space is required than imagined and the incorrect placement of structural members in the habitation box could eliminate your options. On the DAF T244 the cab has a tilt-lock mechanism and fireguard, as well as two uprights for a cargo panel and a radiator header tank mounted on the left hand side. All these things reduce your options. The pictures below show the structural beams for our habitation box and the space between the habitation box and the cab. Notice that that horizontal beam at the front (left photo) is above the level of the cab.

|
|
Dealing with torsion - A flexible joint
On uneven terrain the cab and the box will move independently so a flexible joint is required. This joint also needs to be dust-proof, waterproof, UV resistant, and secure. After much deliberation, we settled on a steel frame, with a rubber 'accordian' boot around it. Accordian boots are rubber extrusions that allow expansion and contraction and can be 'clipped' onto metal frames. The company I bought mine from, CRL, calls it a slider-to-slider seal.
To complicate things a bit, the DAF has a tilt-cab, so the crawl-through also has to be detachable.
To complicate things a bit, the DAF has a tilt-cab, so the crawl-through also has to be detachable.
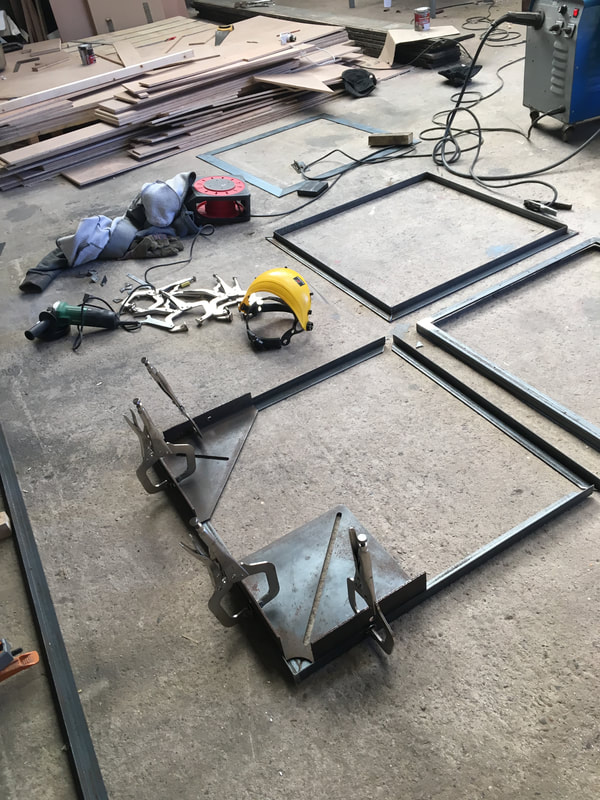
Building the frame
We elected for a 700mm by 700mm square so I set about making the frame for that. The objective was to create two steel flanges and frames to hold them 2" (50mm) apart which the rubber seal would bridge. Each flange would be mounted to a frame, one on the cab, one on the box, with the box one bolted on rather than welded.
|

|
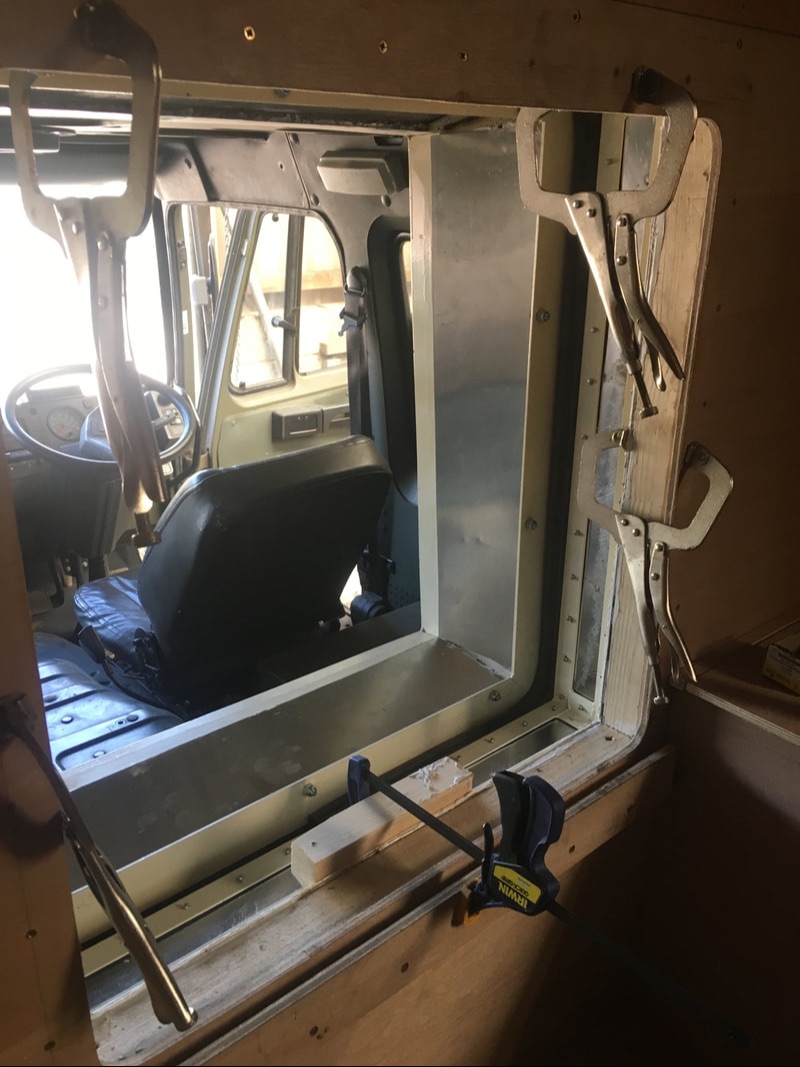
Inside view from the habitation box
Fitting the gaiter to the flanges
The gaiter needs to be joined into one piece so that it's water, air, and noise tight. To do this I started at the bottom and wrapped the gaiter all the way round then overlapped the edges. Then I marked it precisely and cut it off with a razor blade. This made the two ends butt up but there is still a gap. I then cut off a small offcut (6 inches) and glued it to the outside with contact adhesive.
|
|
The end result (unpainted)