Construction
Once the superfluous hardware was removed from the bed we started cutting the box section for the base. The box section is 60x60x3mm mild steel.
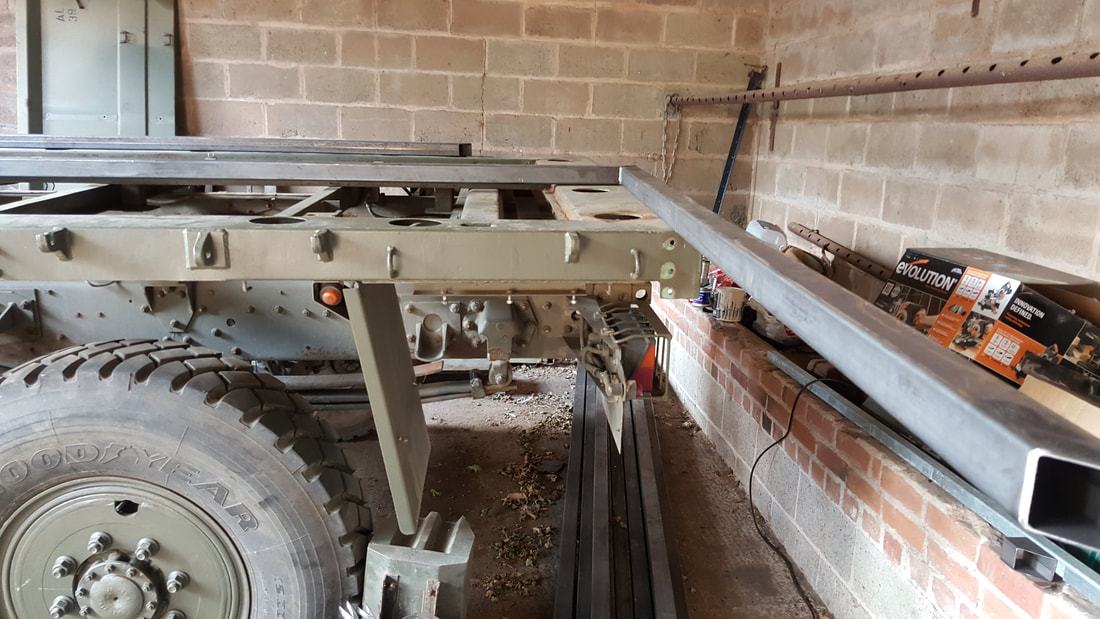
Cutting the box section to size with a mitre saw.
|
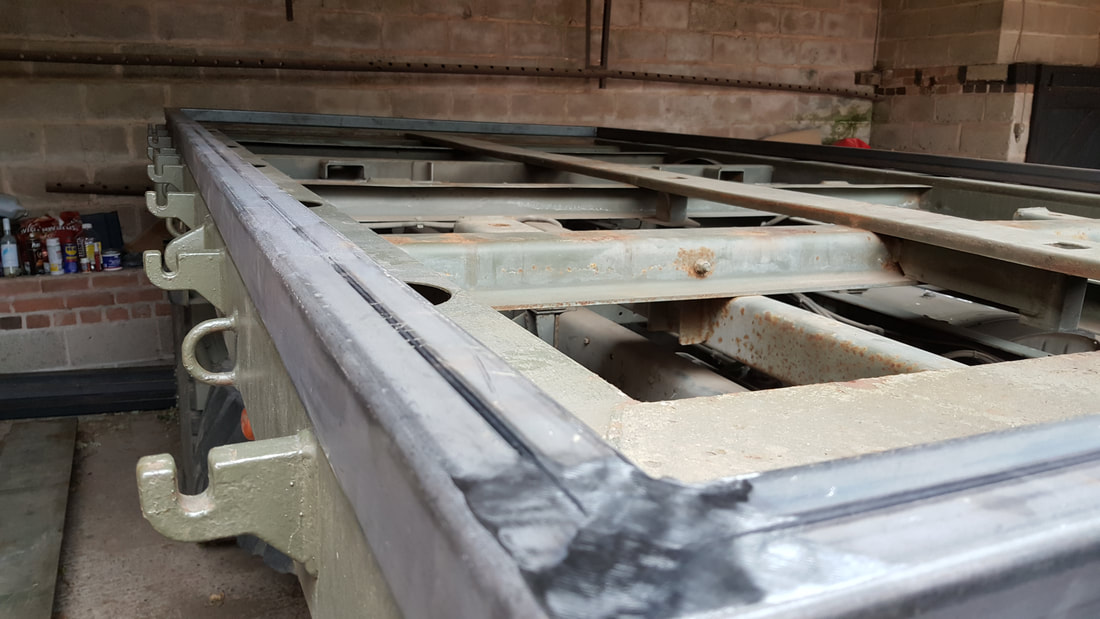
Grinding the welds on the top flat.
|
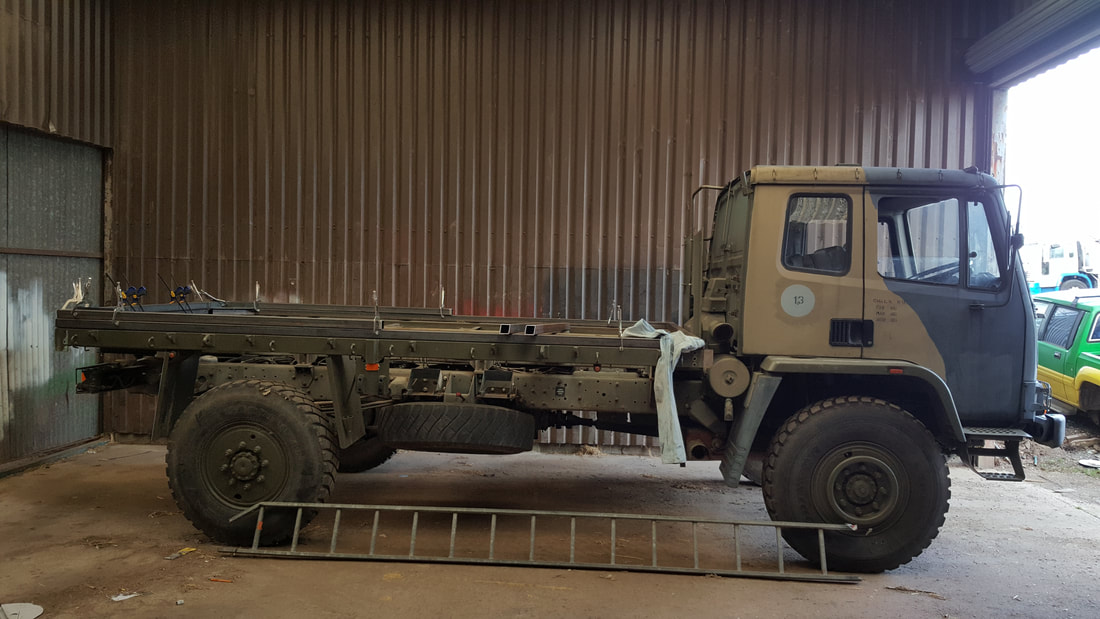
At this point we realised we needed more space and moved into the workshop on the farm. I measured the height of the door before beginning construction (important point). Most cuts were made using a mitre saw with a steel cutting blade. This lasted just long enough to make all the cuts but as they get blunt, the cuts get sloppier.
More space in the workshop
|
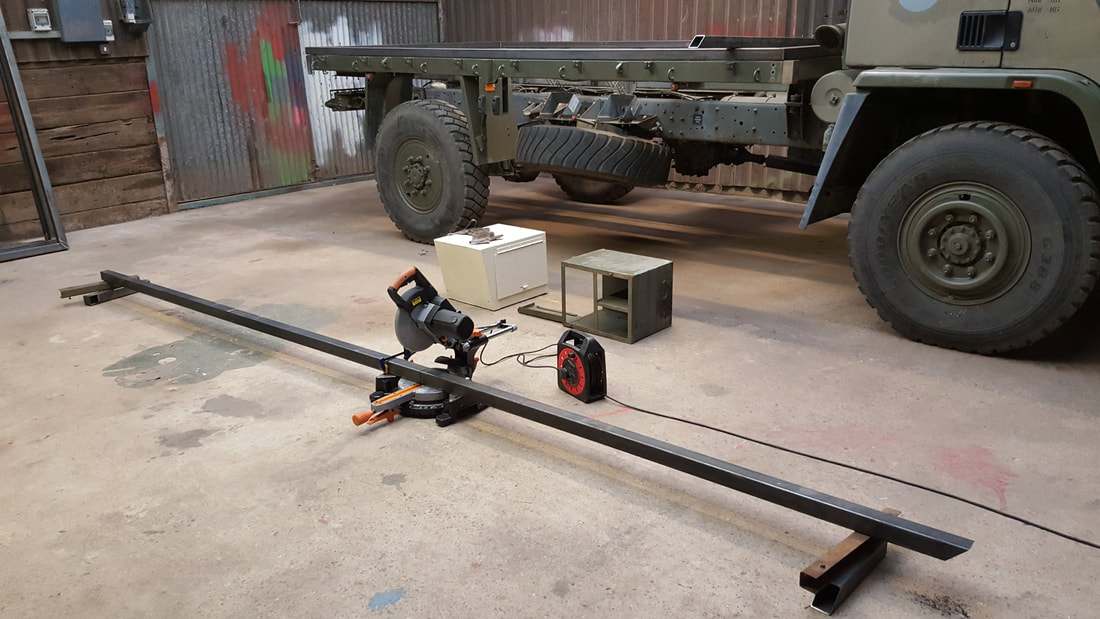
Mitre saw setup
|
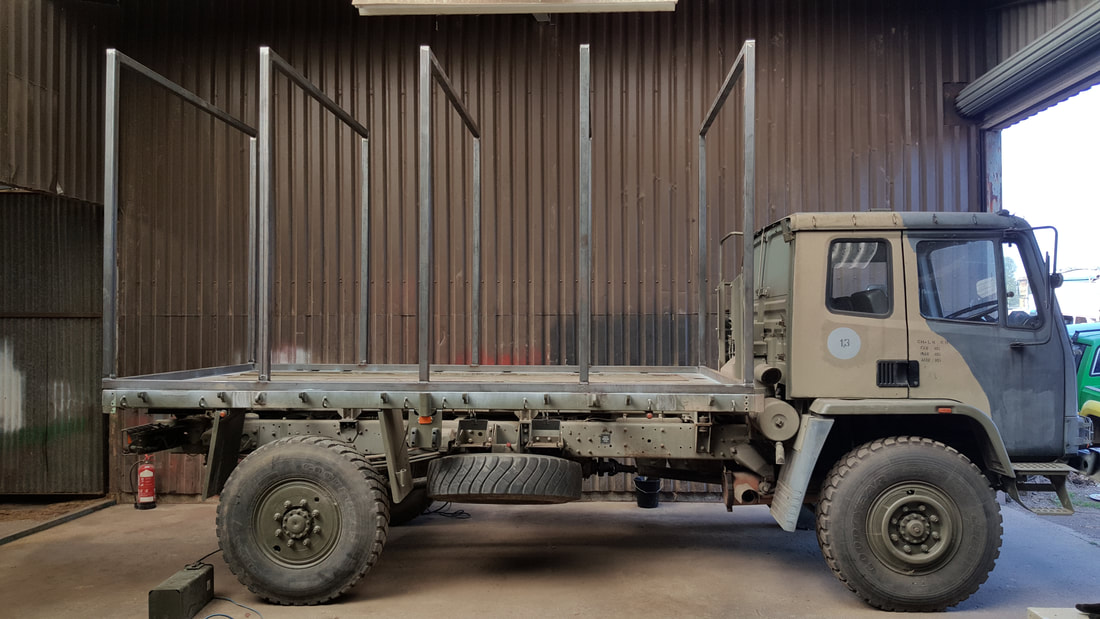
We assembled the arches on the floor, welded them together, then fixed them to the base.
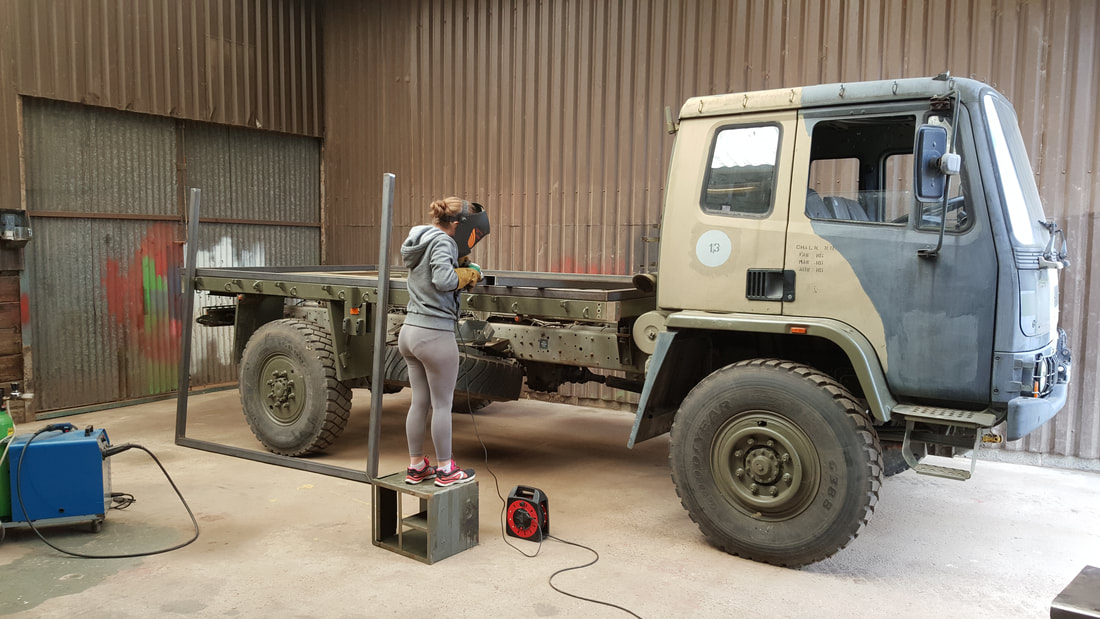
One arch made and cleaning the base
|
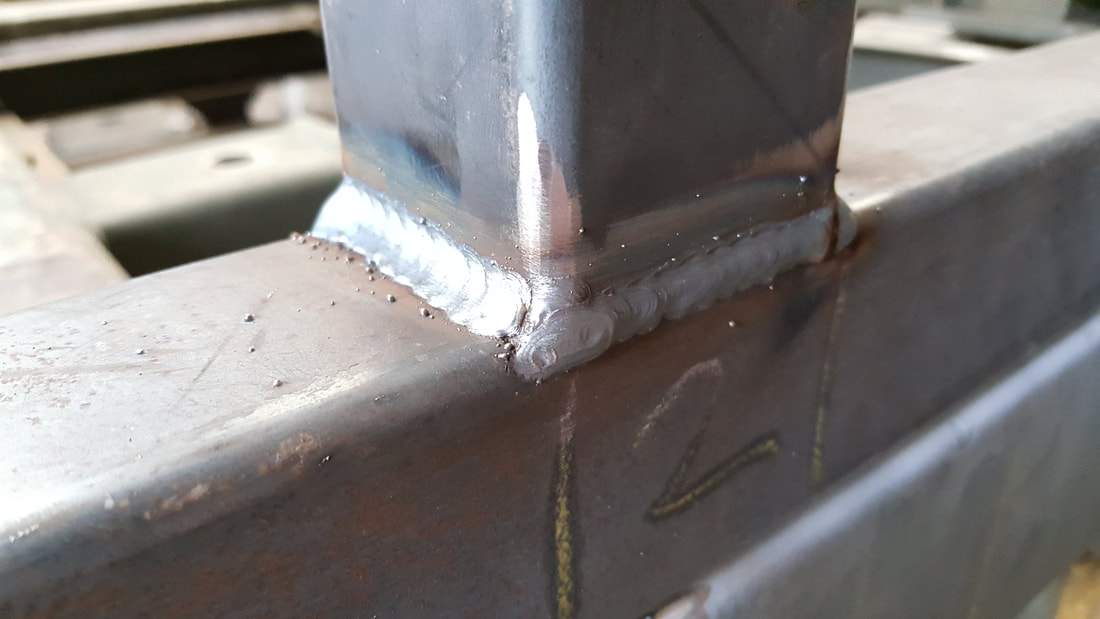
Welded onto the base
|
Repeat 5 times:
Two
|
Three
|
Five
|
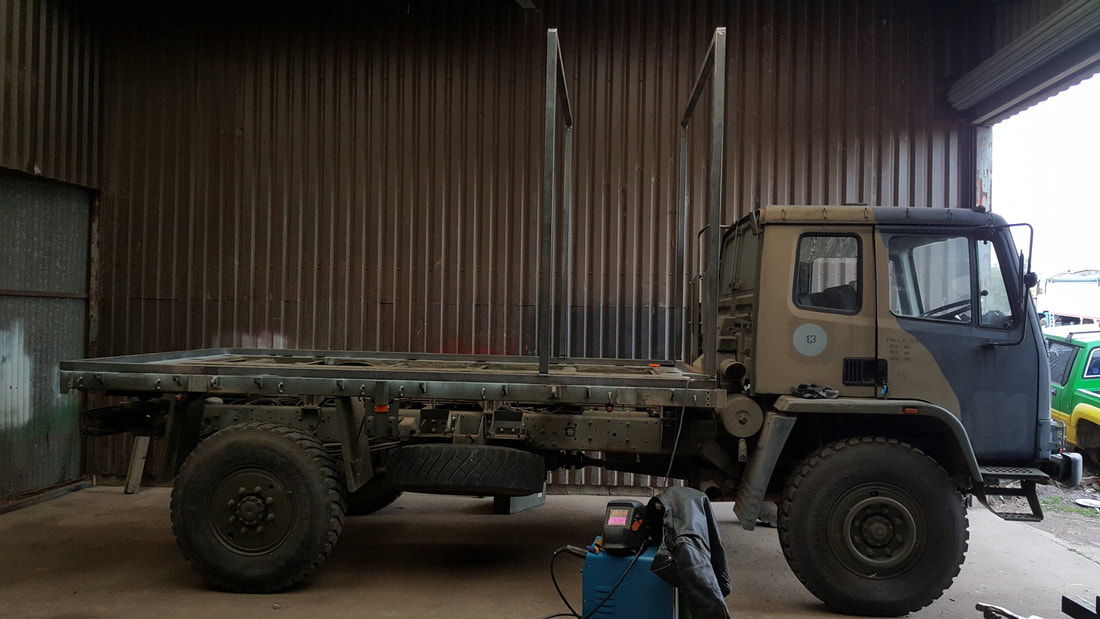
The the top horizontals were cut and welded into place, and the overhang.
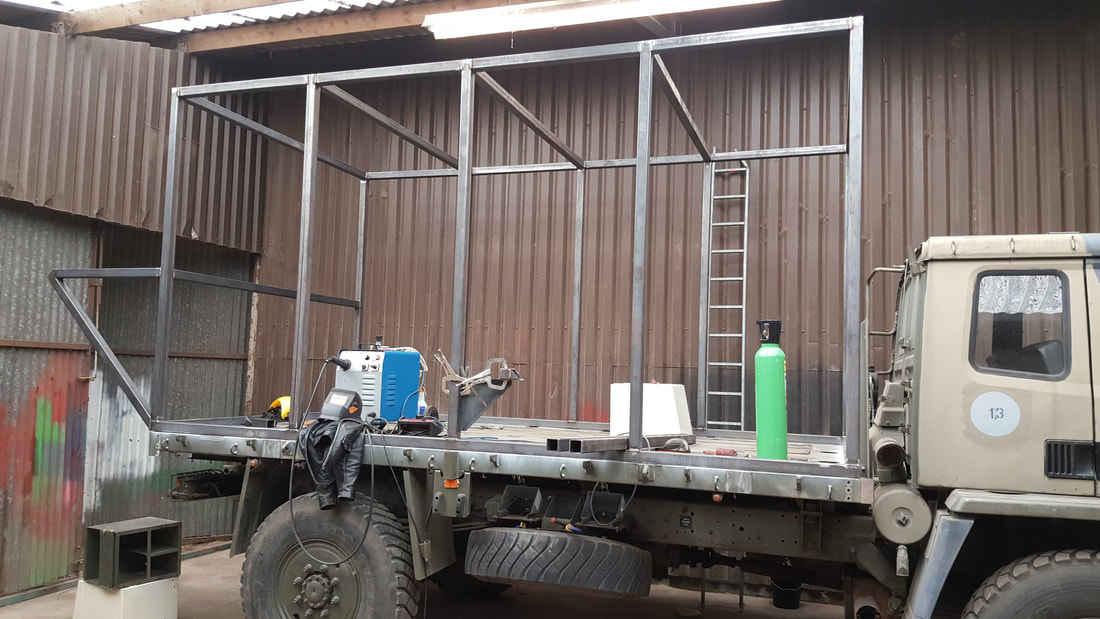
Diagonals first so I can stand on them.
|
Then the tops
|
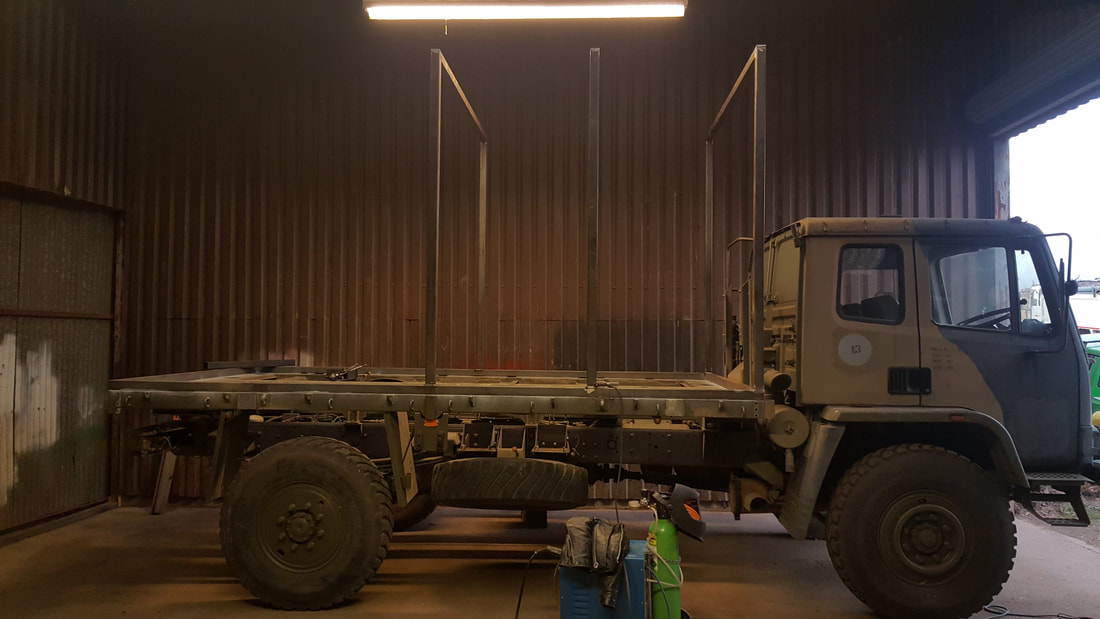
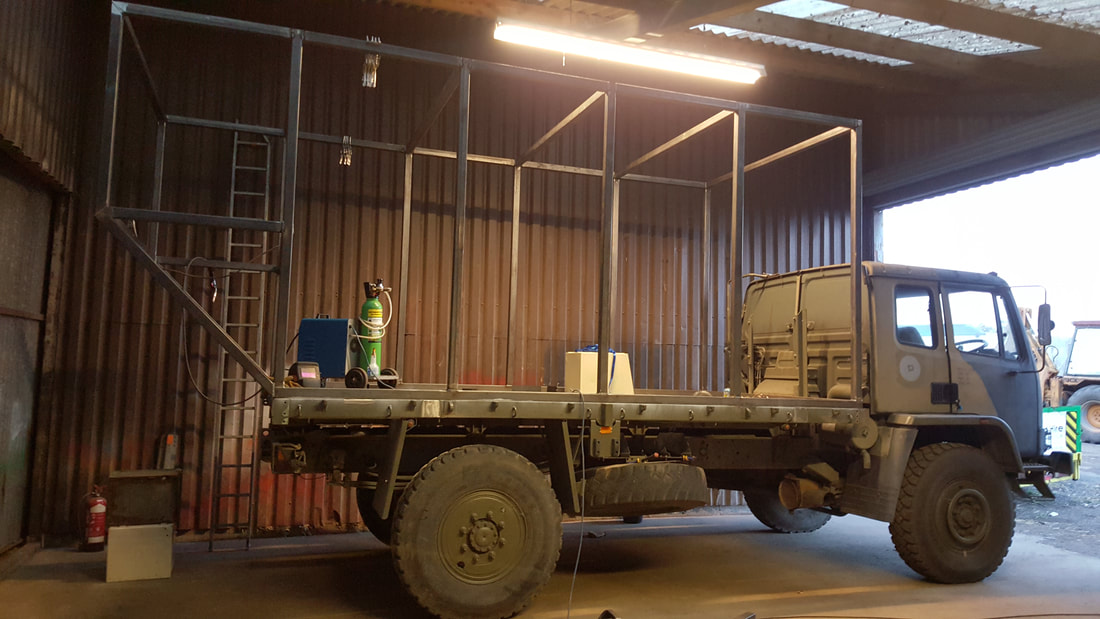
Then the offcuts were used to add rigidity to the frame. We added another layer of horizontals and then some diagonals to stiffen it up (leaving a hole for the door).
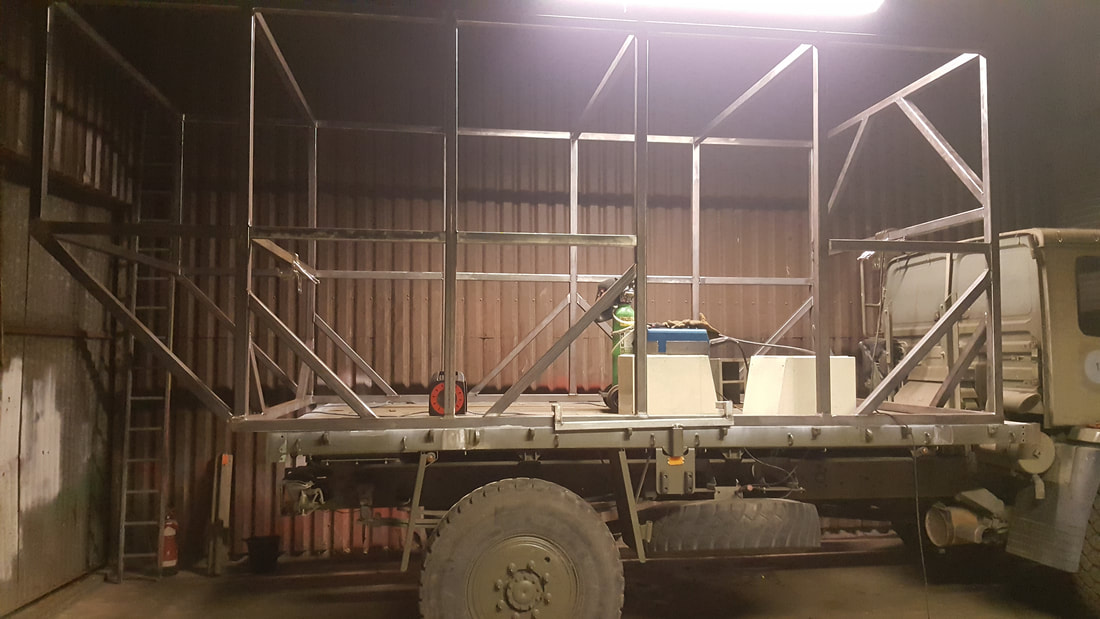
In the above picture the frame is shifted to the back and not aligned to the bed. One the front panel was put on and painted it was time to move it back. This required a special jig. This jig is also useful for getting the brake discs off old cars. Put one end behind and smack the other with a hammer.
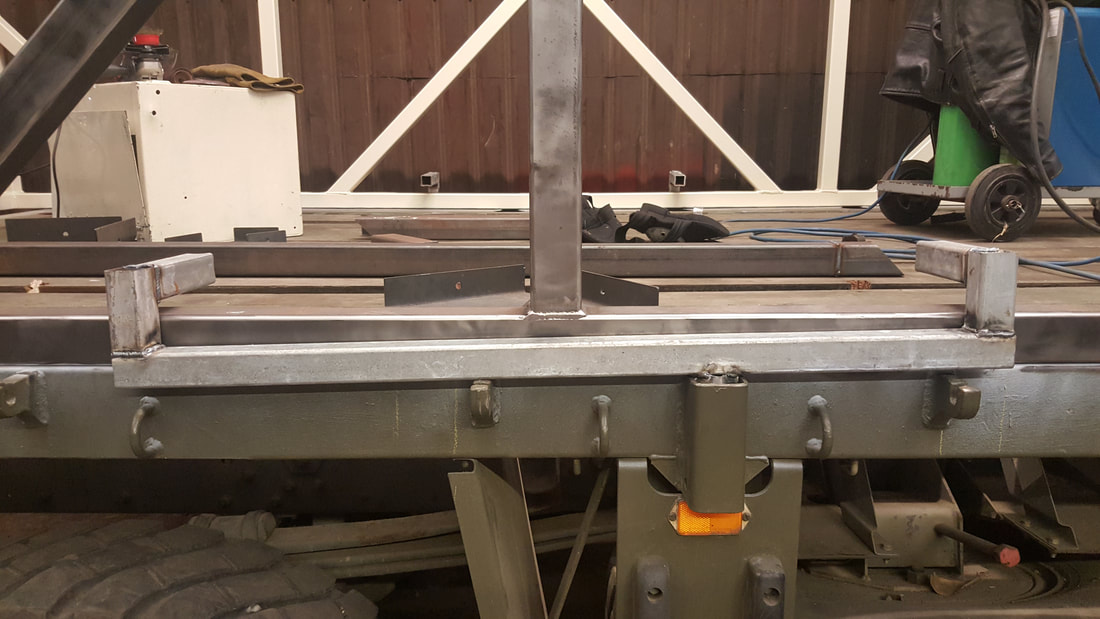
Jig in place
|
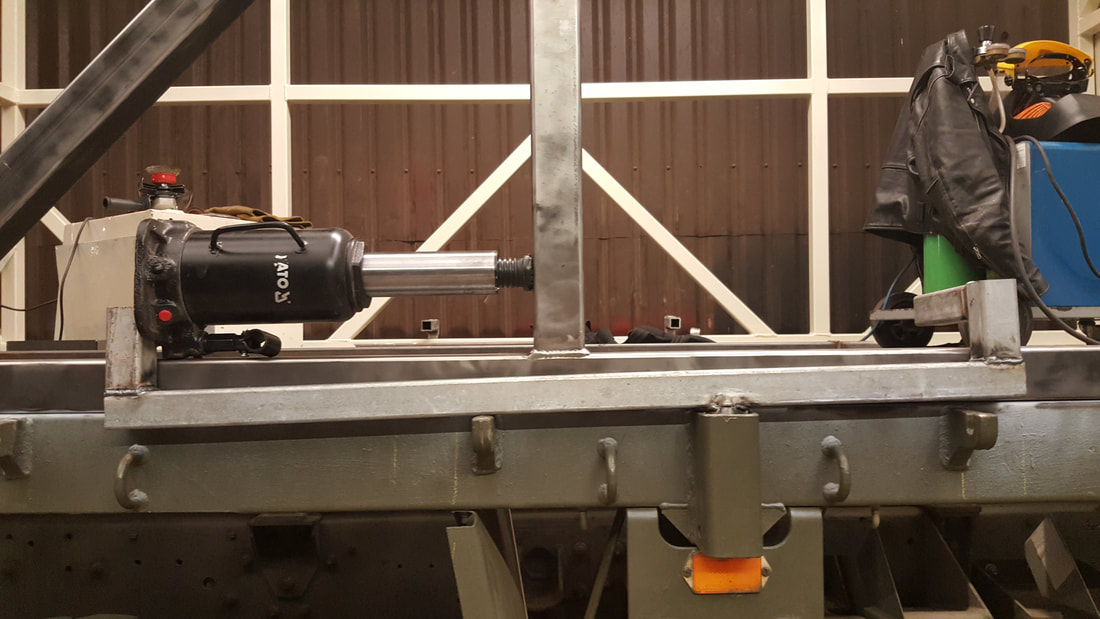
Jack to push it into position. Note that the jacks only work sideways in one orientation, twist it 180 degrees and it won't work.
|
Nice and snug
|
Time to get the door in place and paint the rest of the frame. We decided to make our door 600mm wide, wider than most campers.
Door frame welded in place
Angle iron welded inside
|
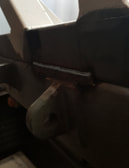
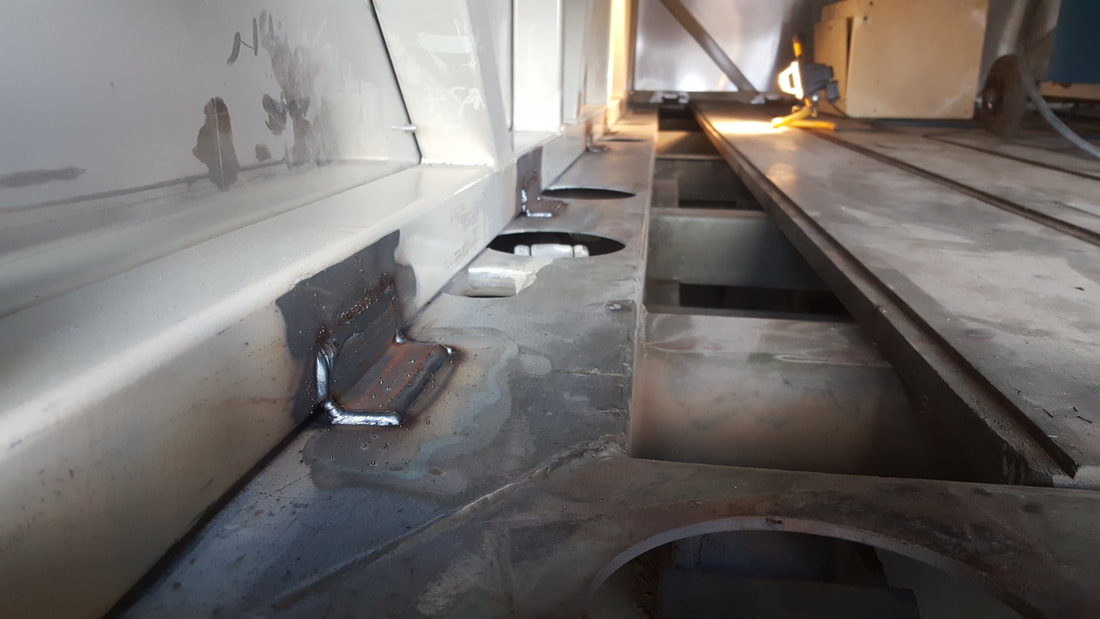
Multipass welds to the thick lift points.
|
We also welded 8 plated onto the outside (pictures coming soon) and then fabricated some 10mm thick steel brackets which bolt through the lift points to secure the frame. The combination of all of these methods is a few metres of welds and 4 very heavy duty brackets.
|
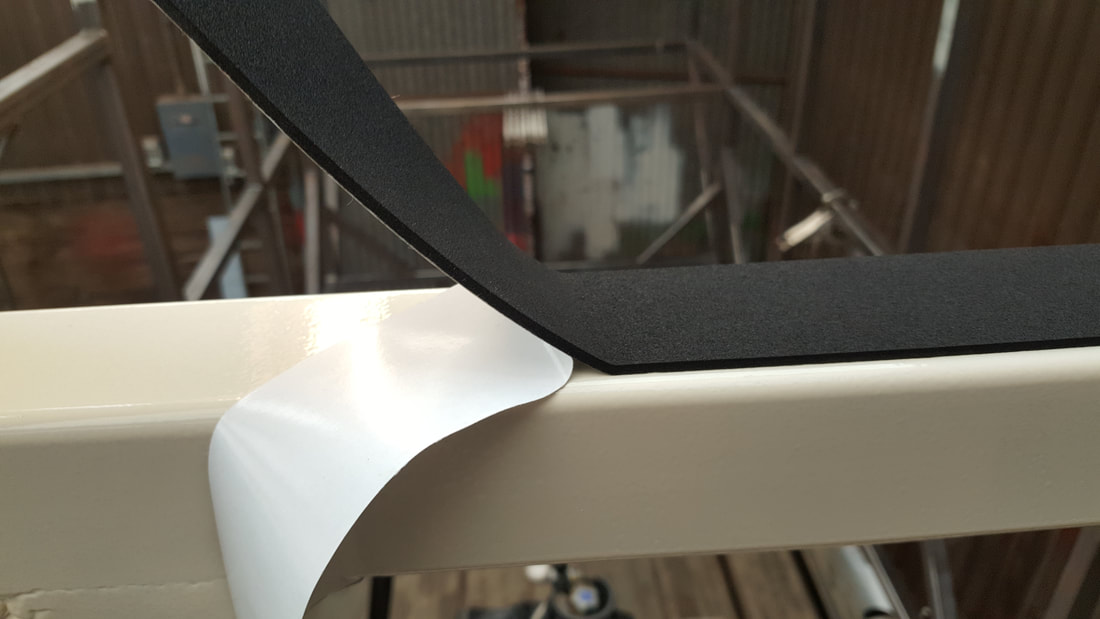
50mm x 3mm closed cell neoprene tape
|
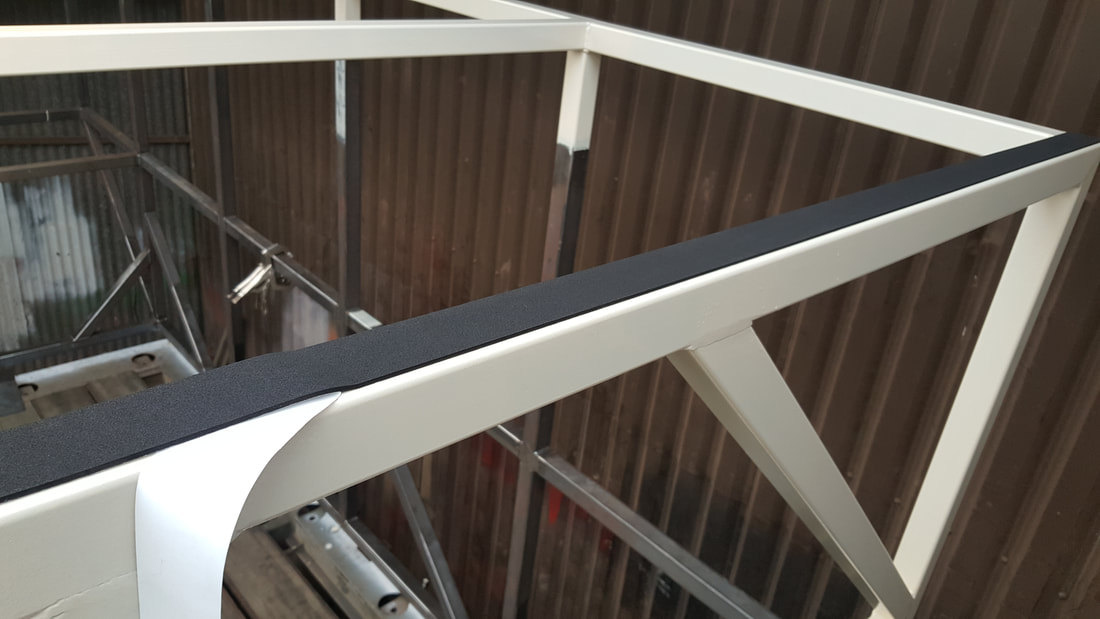
Neoprene will isolate the aluminium from the steel and help with noise and waterproofing.
|
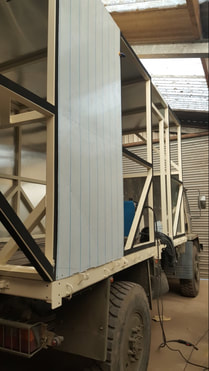
Frame painted, isolated, and ready to be riveted.
|
3500 rivets later (get an air riveter)
|
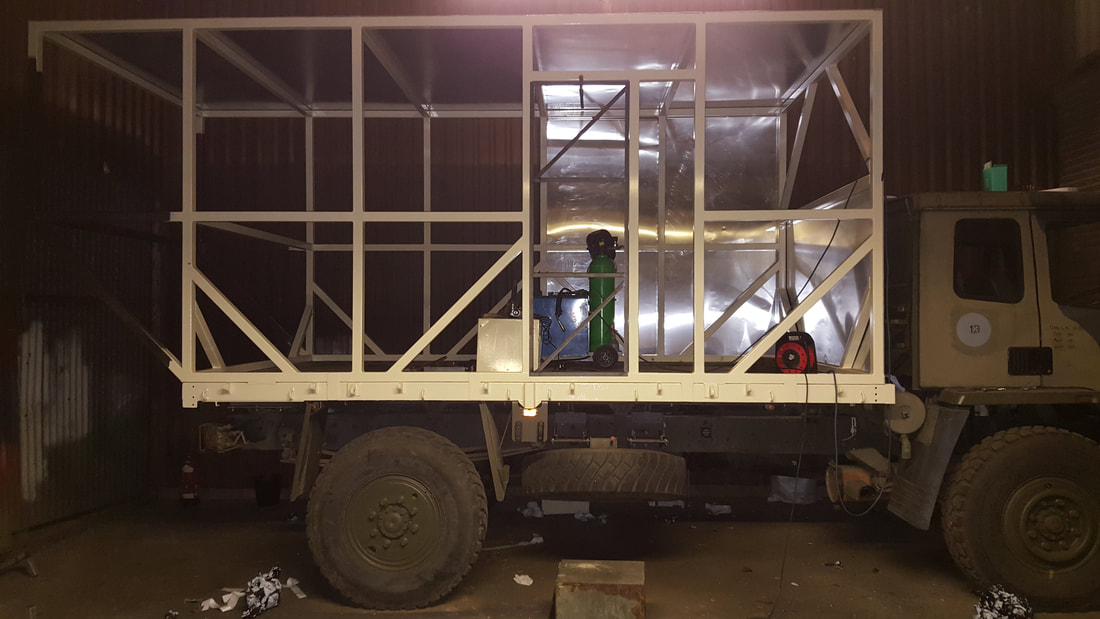
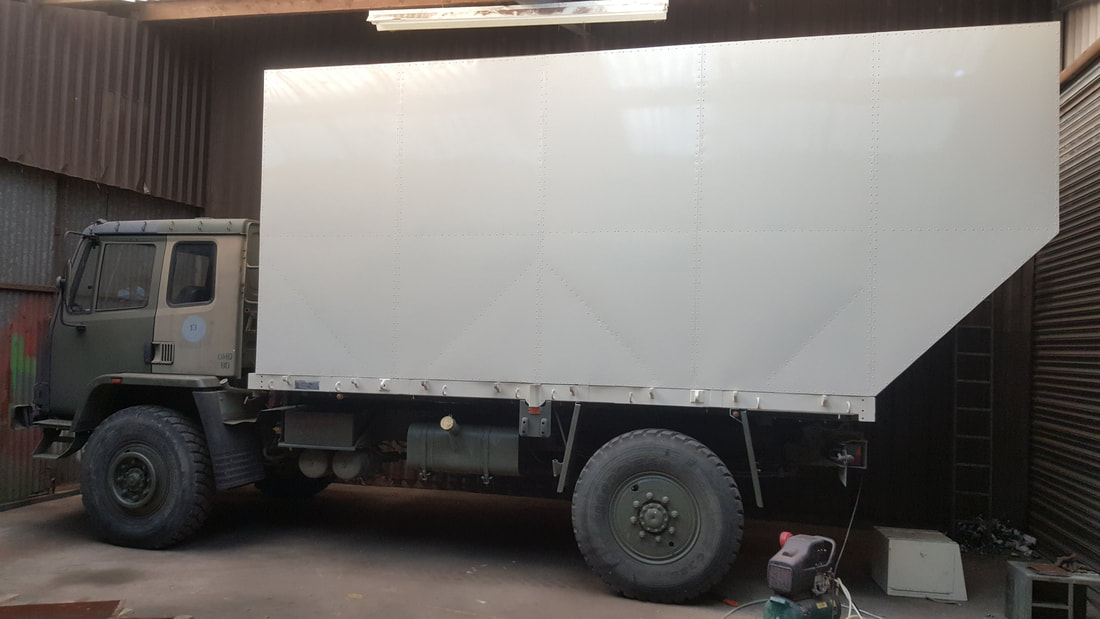
Build the box. The box we built is a steel frame welded onto the truck bed mostly with plates but sometimes directly. It is cladded with aluminium panels. We put neoprene tape between the panels and the frame to prevent oxidisation. We also braced the frame thoroughly and we are planning to use bolted brackets as a final anchor onto the bed.
We started our steel work mid-August and finished painting the cladded box end of October so it took us 10 weeks of hard work but we've finally hit a nice milestone; a waterproof box on the back of our truck.
The many steps involved in getting there included, but were not limited to:
- Fabricating the frame out of 60 x 60 x 3 mm steel box sections (which really means endlessly cutting 50kg beams with a mitre saw, lifting half assembled portions of the box onto the bed without falling (that's the hard bit), and welding them together however possible, sometimes upside-down, Tom's toes will never be the same),
- Cleaning off the dust and oil residue from the steel frame with a grinder brush (harder than it sounds, hello trigger fingers),
- Painting the frame (preferably 2 coats),
- Cutting 20 aluminium panels using thin grinding blades (the tin snips did not cut it, oh irony),
- Marking every panel and punching them so Tom knows where to drill (and because you're Kim you get it wrong and make sure to punch EXTRA hard so you really CAN tell you messed it up),
- Applying neoprene tape to the entire exterior of the frame (that was the fun part)
- Riveting said 20 panels at the perils of your own life (3000 rivets and counting),
- Making a tailor-made door which distorts when you weld it together (but will go back into shape if you jump on it),
- Painting the door and the panels (that was kind of fun too),
- Admiring the end result trying not to think of how much work is left to do.
Listing it like that it almost sounds easy.
We've put a timeline together to record the progress. Check it out below.